Creating A Family Binder
Welcome back! So Monday I shared with you all the FREE printables for your home binders! Today I'm excited to share with you how I use and put together my binder. Let's take a look at the binder itself first shall we?
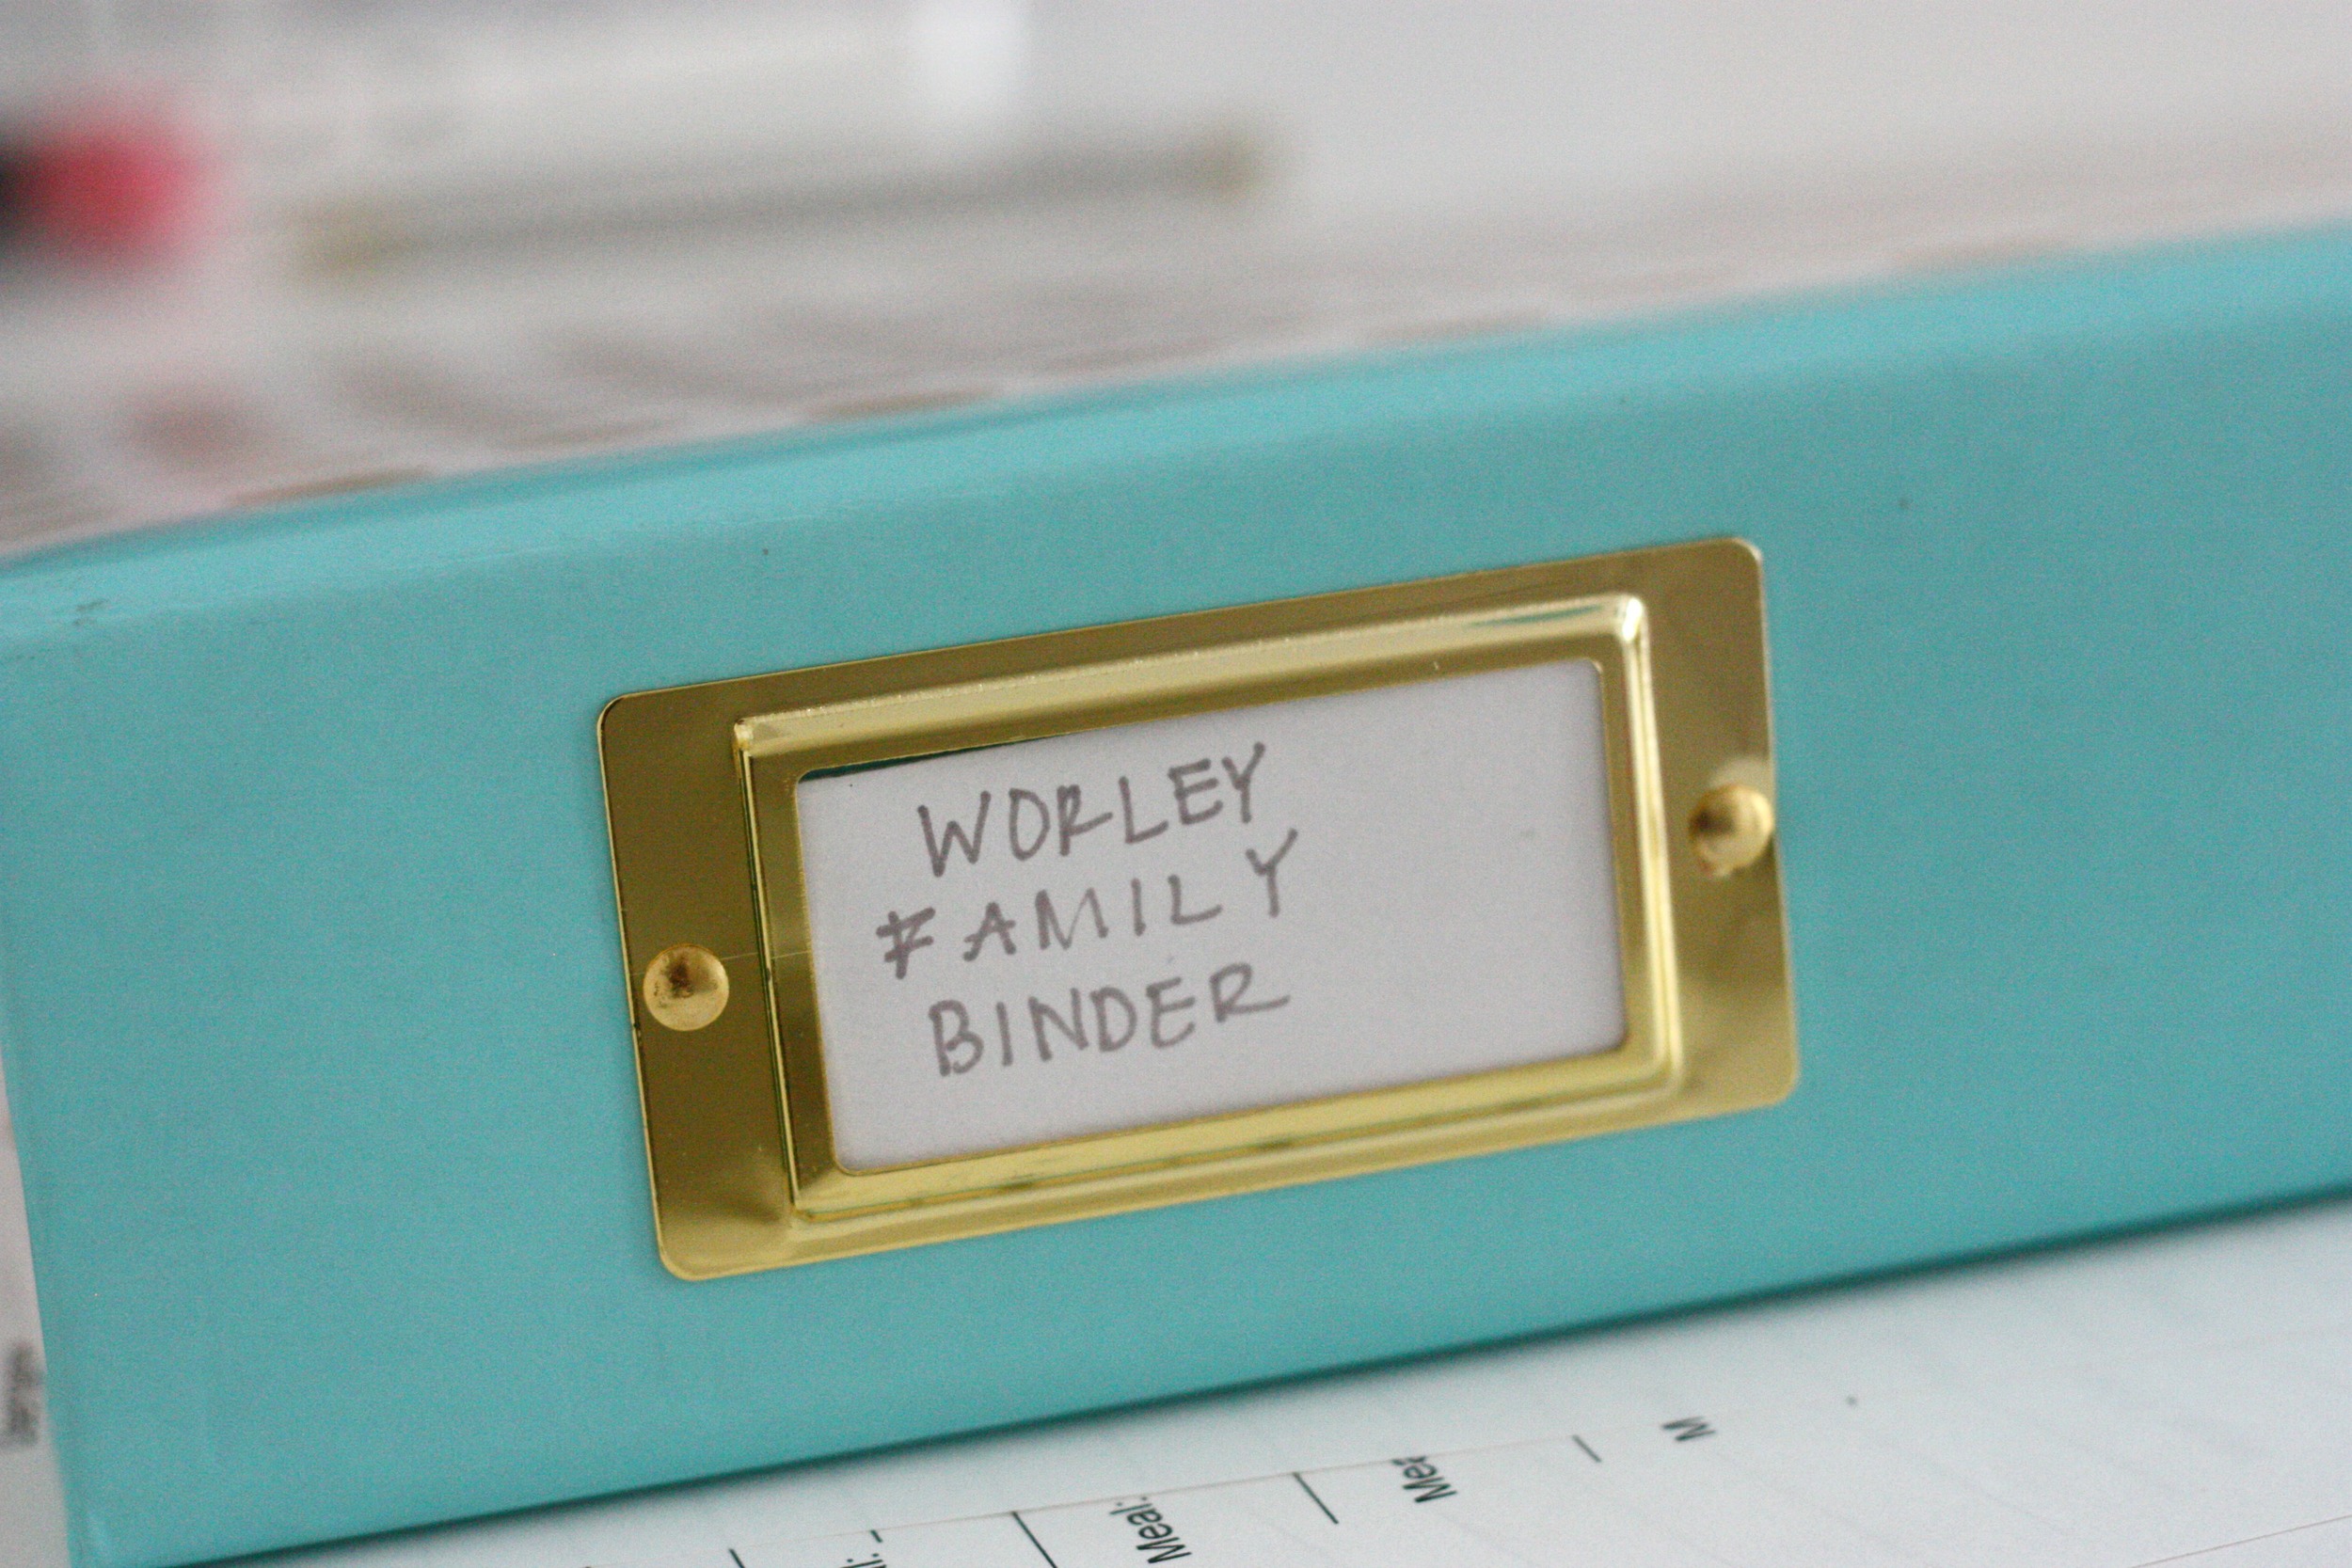
I choose this 8.5x11 3 ring binder, I found it on WeR Memory Keepers. Here's a link to it here.

I love that the corners are reinforced with hardware making this binder a little extra durable! The gold polka dots help at all for cutness.. LOL!


Ok, let's take a look at the inside and see it in action. The two parts I wanted to section off were the "meals" and the "budget." I used some paper file folders and cut them in half and used some stickers to write the section names.

I've already started to fill our our family's favorite meals and I can already tell how handy this is going to be for me. The grocery list is tucked behind this, I printed off a bunch just to have on hand.


Budget worksheets, and my 52 week savings plan worksheet are behind the "budget" dividers.

I also placed a clear pocket on the back of my binder to hold receipts. If you missed the free worksheets click on this post to download and print them.
If you've already downloaded them I'd love to hear your thoughts and how you're using them. Tell me in the comments below.